
Step 4: Whisk in Small Crystals
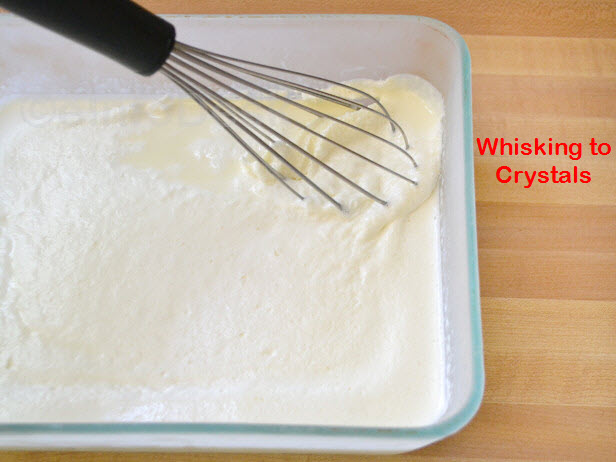
Keep repeating the freeze and stir process on every 30 minutes. Once the ice cream begins to slightly thicken, use a whisk or immersion blender to vigorously stir or beat the mixture instead of using spoon for stirring.
Step 5: Adding Flavors and Taste
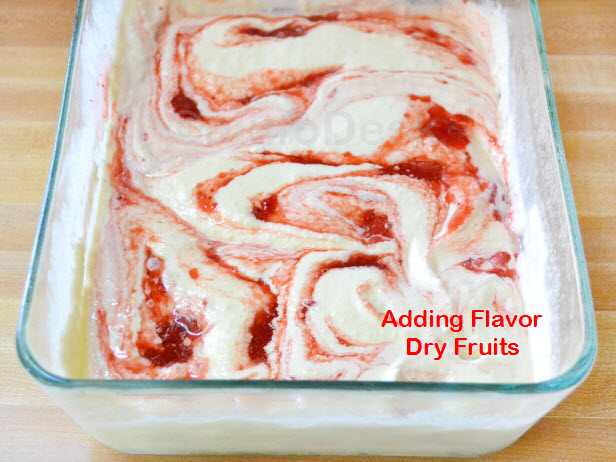
When the ice cream reaches “soft serve” consistency, it’s ready for add-ins. Gently stir by adding flavor syrups, minced dry fruits, frozen fruit or strawberry syrup to chocolate chips, caramel drizzle or chopped peanut butter cups. After add-ins in the extras, return the ice cream to the freezer for one more hour to set.
Step 6: Serve and Enjoy
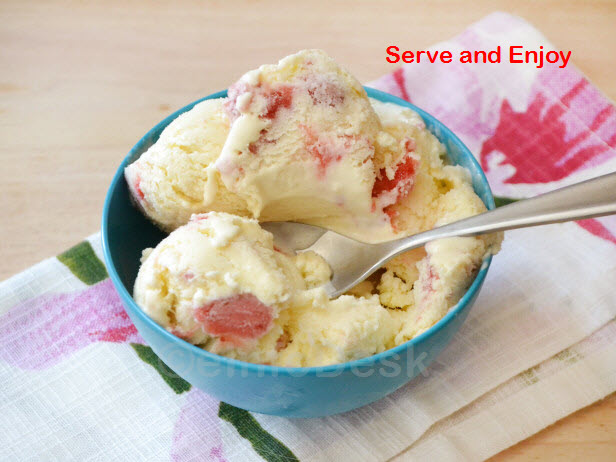
Homemade ice cream is best and easy to prepare, but it can be stored in an airtight container for up to a week. Resealable container, will help keep the ice cream soft during storage. Once you’ve found your favorite ice cream base, the sky is the limit for add-ins, Enjoy have fun and get the kids involved in ice cream making this summer.
Tips:
- Used full cream milk, Low fat or low sugar ice cream bases will not work as well when made by hand and will create an icy product.
- Make sure your base is thoroughly chilled before beginning the freezing process. it helps the liquid freeze faster, which also prevents large crystals.
- Whisking will breaks up the crystals better than a spoon and incorporates air, making for a fluffier product.
-
Avoid adding in banana slices because they will turn black instead of fruits use dry fruits for more delicious.